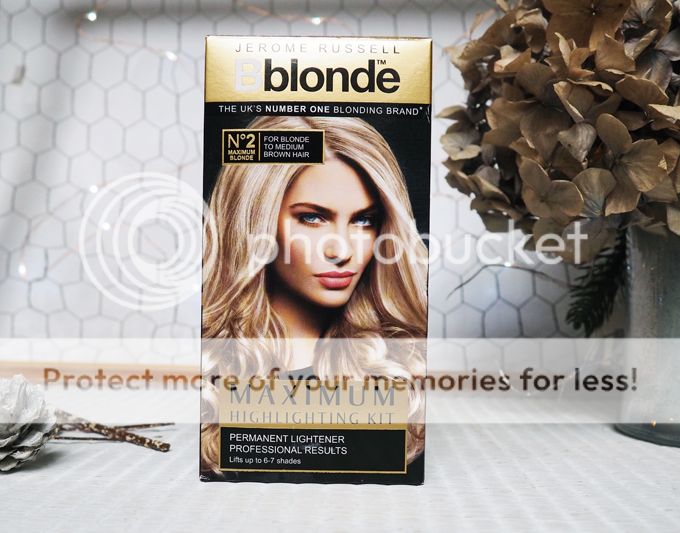


Over the last few weeks, I've been obsessing over the grey hair trend and have gradually decided that I definitely want to gear my hair colour more in that direction. Now, normally I'm one for deciding I want to do something to my hair and having to do it right away - I have no chill when it comes to waiting to change my hair. This time, I've decided to go down the slow and steady route, because quite honestly I don't want to bleach my hair all over and since it's a fairly big commitment, I want to be sure I'm all in first. So last weekend, when browsing the aisles of Superdrug in hunt of something which would take my locks from a dark/light blonde ombré to something a little lighter and brighter, I came across the Jerome Russell B blonde Highlighting Kit. I've tried
L'Oréal's highlighting kit a few times before and enjoyed using it, but this time I wanted something a little more intense. Jerome Russell is a brand which has always stood out to me for it's focus on going blonder, and since this was exactly what I wanted to do, I decided to give them a go.
The box contains a sachet of bleach powder, a bottle of cream peroxide, a highlighting cap, applicator brush and a kind of metal crochet hook style tool, as well as gloves and conditioning shampoo. As always, it's recommended to do a patch test 48 hours before use. I'd never used a highlighting cap before, but various reviews told me it was relatively easy to use (although the help of a patient family member/friend/boyfriend may be required) and would give natural, effective results. So far, so good.
Application
To get started, you brush your hair away from your face - making sure there are zero tangles, this is super important as it will make application so much easier. I would also keep a hairbrush at hand, to brush through the strands of hair you pull through to ensure there are no loops or small bits caught up in the cap holes. Pop the highlighting cap on - I found
this video helpful here - and using the hook, pull strands of hair through the holes in the cap. These holes are visible however not already pierced all the way through, so a little extra oomph is needed to get that hook in and pull the hair out. Sounding like a fun process yet?! I roped in my mum to help as after managing a few of the front strands by myself, it became clear I would never be able to do the back on my own (I would definitely recommend starting at the back if you want to avoid having a curtain of hair in your face, like I did!). Once you get the hang of it, it's actually pretty easy and you can pull as little or as much hair through as you like. The more you pull through the more obvious the effect will be. It also doesn't matter if the strands aren't absolutely uniform or perfect, making this a worry and hassle free kit which is such a plus in my book.
Once you've used all of the holes in the cap, give the hair another brush through to make sure everything which should be pulled through is. Now, it's time to bleach baby! Simply mix the bleach powder and cream peroxide together in the plastic mixing dish provided (they say to do this with a plastic spoon; I used the end of the applicator brush), and apply it alllll over the hair which has been pulled through. I ended up using my hands to help here, as there was no way I could see the back of my head to do it with the brush. Then there's another plastic cap to put on over this, before waiting for it to develop. I left it on for 45 minutes, before washing off the dye and eagerly drying my hair to see the results.
Results
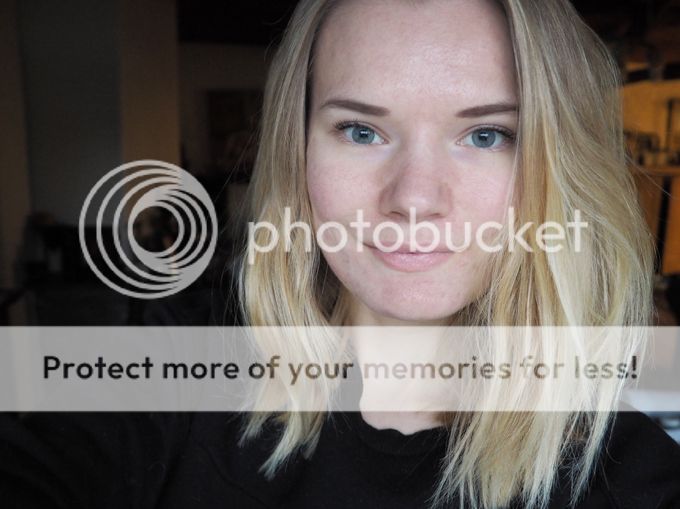
I am honestly so, so impressed with the results this kit offers. The highlights look really natural, not at all orangey/yellow and I would even go as far as to say that they look almost salon quality. I don't think you can beat the effect a good hairdresser will offer, but this is definitely a very strong budget option and considering the fact that this little kit costs under £7, I think the results are ridiculously good and I can't recommend it enough! It's been a week since I used this and the colour is still going strong. I'm really happy I picked this up, and will definitely be using it again in the next few weeks as I'd like to go even blonder. *Edit: box two is on it's way as I write, along with the
Jerome Russell Silver Toner, to help get an even more ashy effect*.
What are your thoughts on the grey hair trend?
Labels: blonde, hair, hair dye, jerome russell, review


